
Installing WSL on Windows 11 Home (Ubuntu)

MSc. Computer Science graduate, 2019, exploring the world of Software Engineering w/ DevOps | Open Source, and blogging about it.
Windows Subsystem for Linux (WSL) offers a powerful way to integrate Windows 11 Home with Linux. Having a growing interest in Linux and venturing into DevOps, I decided to find out how Ubuntu can be used on my new Windows machine, after previously trying to install Ubuntu on a bootable USB and finding out I mostly used the CLI rather than what came with it (the apps).
This article details how to install WSL with Ubuntu on Windows 11 Home, providing a practical approach to enhancing your development processes.
Why WSL?
With WSL, users can access Linux command-line power without giving up Windows convenience.
Installation Steps:
Click on the Start menu.
Search for
Turn on Windows and FeaturesScroll to the bottom and select the textbox Windows System for Linux.
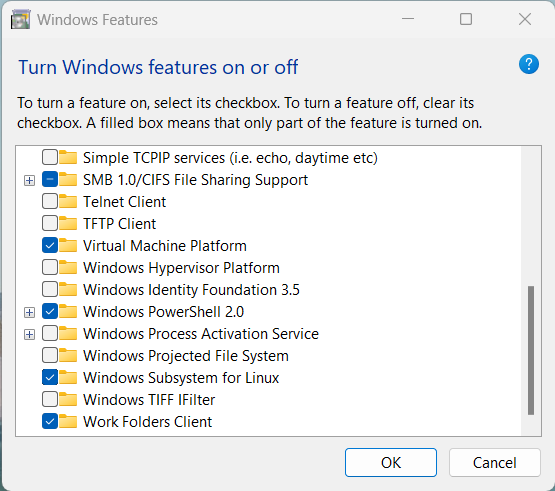
Click OK.
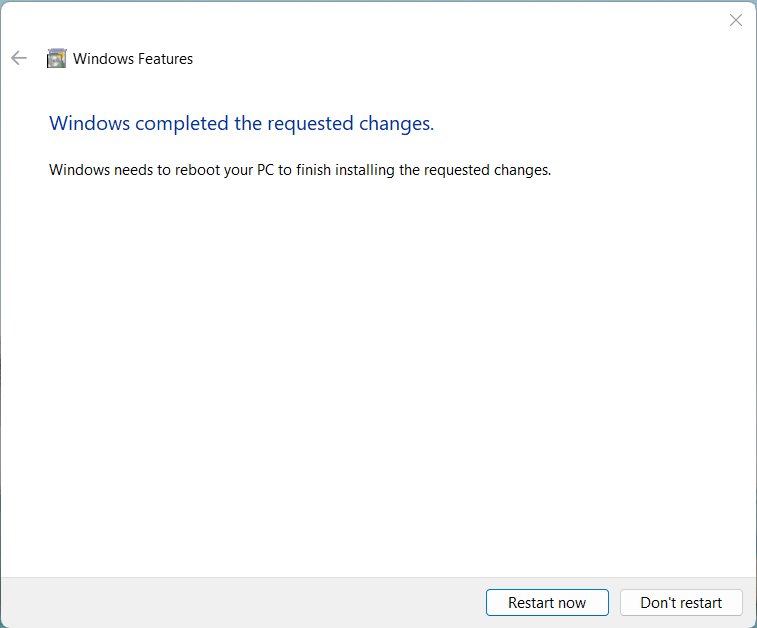
Click
Restart nowso the changes can take effect.
1. Launch PowerShell as Administrator.
2. To view available distros verified for installation run the command: wsl --list --online
3. To install the default Ubuntu distro simply run the command: wsl --install

4. To install a specific distro run the command: wsl --install -d DISTRO-NAME
Example, running the command:
wsl --install -d Ubuntu-20.04will install Ubuntu 20.04 LTS
5. Restart your machine when prompted.
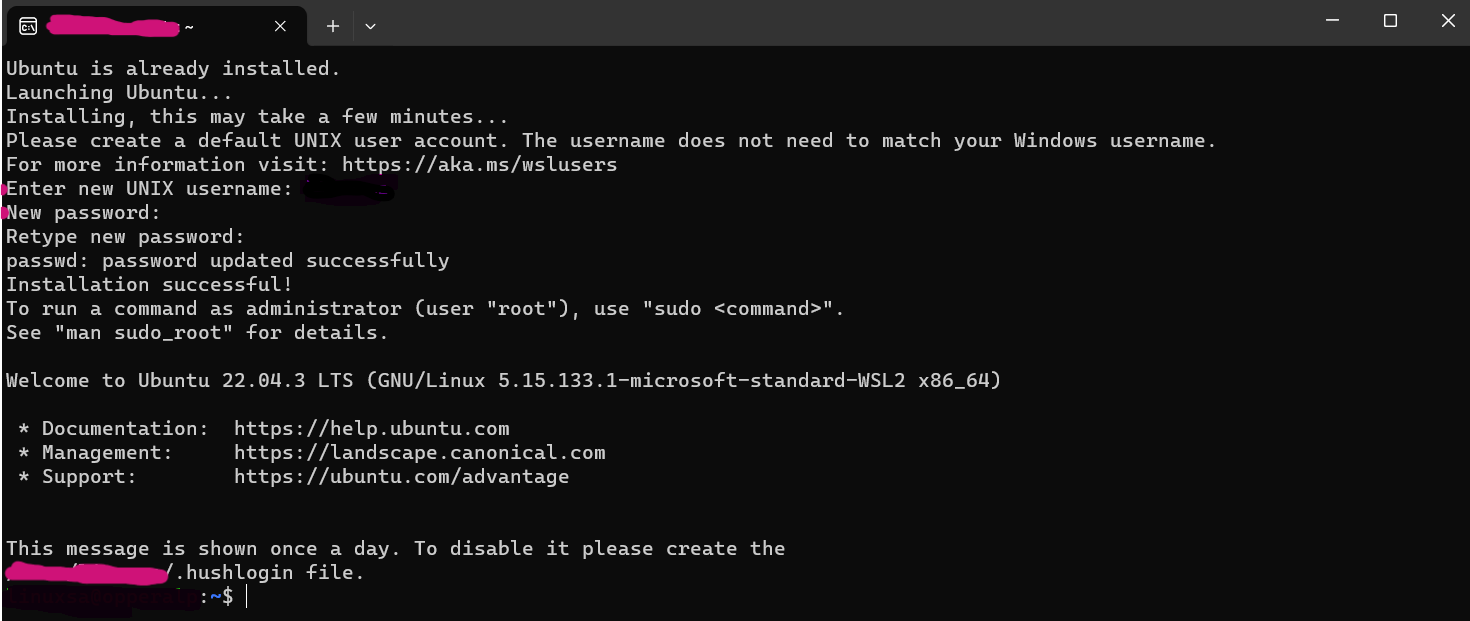
1. Launch the installed Ubuntu app from the Start menu.
2. Follow on-screen instructions to set up a user account and configure your Ubuntu environment.
3. Upon completion, you'll have a fully functional Ubuntu terminal ready for use.
Conclusion:
Following these steps, you've successfully integrated Ubuntu into your Windows machine and can now navigate a Linux environment from your familiar Windows desktop.
Thank you for reading. Happy Coding!


